Using Adobe Camera Raw to make overall adjustments to a photo is a great way to improve images, but what about when you want to make an adjustment to just a small portion of the image?

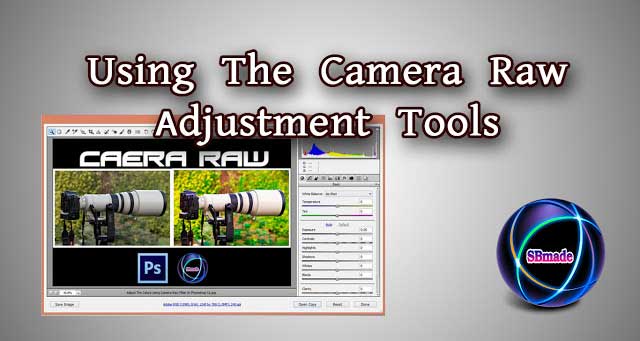
Using Adobe Camera Raw to make overall adjustments to a photo is a great way to improve images, but what about when you want to make an adjustment to just a small portion of the image? While the sliders in the right-hand sidebar adjust the entire image, the Camera Raw adjustment tools allows users to make more specific changes. Here’s what beginner’s need to know about Camera Raw adjustment tools.
In most versions of Adobe Camera Raw, the toolbar is located at the top, towards the left. There’s tools like the magnifying glass and hand that simply change how you view the images, but there are also a handful of tools that help you fine-tune your images with more than just those helpful sliders.If you are currently enable Camera raw, do it now.
White Balance Tool
The white balance tool, which looks like a dropper that’s half full, allows for exact white balance adjustments. Select the tool, then simply click on an area of the photo that should be white. The program will balance the photo, with that colour you selected as reference for white. This method doesn’t work well for photos where there isn’t something that’s pure white, but it’s a quick, accurate tool for many images.
Targeted Adjustment Tool
Can’t find a way to adjust a specific shadow, highlight or mid-tone? The targeted adjustment tool allows you to click on an area of the photo, and drag to adjust. If you click on a mid-tone, for example, all the similar tones in the image will be affected. If you click and hold on the tool, a drop down menu will pop up, allowing you to select what changes you’d like to make with the targeted tool. The options are parametric curve (default), hue, saturation, luminance and grayscale mix. The Camera Raw targeted adjustment tool is an excellent way to fine tune your adjustments.
Crop and Straighten Tools
Sure, you can crop and straighten a JPEG just as well as a RAW file, but a crop and a straighten tool are included in Camera Raw, to help make editing simpler. If you plan to crop, applying this first will help as you make all the other edits with that final perspective in mind.
Spot Healing Tool
The spot healing tool will select a specific part of the image and repair it by using another portion of the image for reference. It’s located in the toolbar and looks like a paintbrush with stars. There are two types, a healing brush where the program will assess the image and try to correct the area based on the reference point. Or, the clone option, which copies another area of the image exactly. You can use the radius slider to adjust the size of the spot tool, while the opacity slider can be used to make the effect semi-transparent. The spot healing tool is a great option for fixing dust spots on the sensor, or a blemish on a portrait.
Red Eye Tool
This one is self-explanatory—it’s for fixing red eye. By fixing the eyes in Raw, however, you can adjust the darkness of the pupil as well as the size of the tool.
Targeted Adjustment Brush
Want to adjust the exposure, colours or sharpness in just one portion of the image? That’s where the targeted adjustment brush comes in. This tool allows you to paint over the portion of the image you want to apply the adjustments to. Select the tool (it looks like a plain paintbrush), then the adjustment option pop up in the right-hand sidebar.
The top section on the sidebar contains adjustments that work much like the sliders for editing an entire Raw image. Options are for exposure, brightness, contrast, saturation, clarity and sharpness. You can also select a colour, which will adjust the tone of where you paint as well.
At the bottom of the toolbar, the first option adjusts the size of the brush. The feather slider allows you to soften the edge of the painted area for a more gradual transition to the rest of the image.
Want to make a new adjustment, or adjust an existing one? Use the New, Add, or Erase options at the top of the toolbar.
Graduated Filter
While the graduated filter tool won’t replace an actual filter, it’s a big help for editing images in Camera Raw. The graduated filter tool will darken or lighten an area of the image, and apply the effect gradually. Along with lightening or darkening through the exposure slider, you can also use the graduated filter to apply brightness, contrast, saturation, clarity, sharpness or colour to a portion of the image. The graduated filter tool is great for enhancing skies, but can also boost a number of different types of photos.
The first step to editing a Raw photo in Adobe Camera Raw is to use the sliders that adjust the entire image. But, the best tools for editing a Raw photo allow you to apply more specific adjustments to just a portion of the photo. Try them out on your photos, and see how you can fix errors or make a good photo great.


COMMENTS